
In this tutorial I will explain how to install Docker for Windows and Mac.
1. Download Docker Desktop
The first step is to download Docker Desktop for your platform’s operating system. This can be either Windows, Linux, Mac OS (Intel) or Mac OS (Apple Silicon). Go to https://www.docker.com/products/docker-desktop, scroll down and locate the button Download Docker Desktop.
When you click this button, you will see the following options:
- Download for Mac – Intel Chip
- Download for Mac – Apple Silicon
- Download for Windows – AMD64
- Download for Windows – ARM64
- Download for Linux
Depending on your operating system, you need to select the correct option. If you have an older Mac, i.e., one with an Intel chip, you need to select Download for Mac – Intel Chip. If you have a more recent Mac, e.g., with an M1 or M2 chip, select Download for Mac – Apple Silicon. If you have a normal Windows machine, you probably need to select Download for Windows – AMD64. This is the standard Intel chip architecture. In most cases, you can forget about the ARM64 option but if the AMD64 option doesn’t work for you, try the ARM64 option. If you have a Linux machine, you select Download for Linux and follow the instructions. I will not discuss the Linux option further.
The Docker Destkop installer is called Docker Desktop installer.exe for Windows and Docker.dmg for Mac. Save the installer in a location of your preference.
2. Install Docker Desktop
Double-click the installer executable (either .exe or .dmg) and follow the instructions.
3. Run Docker Desktop and configure to run automatically at startup
If you want to run a Docker application you need to be sure that Docker Desktop, or the underlying Docker Engine is already running. If you don’t want to think about that, you can configure Docker Desktop to run automatically at startup (or after you log in). Figure 1 shows where you can find the settings in Docker Desktop. This will be the same in Docker Desktop for Mac. Figure 2 shows the General page of the settings where you can enable the option Start Docker Desktop when you sign in to your computer. Also disable the option Open Docker Dashboard when Docker Desktop starts. This will prevent the dashboard from showing up. You can always start it explicity if you need it (probably not).
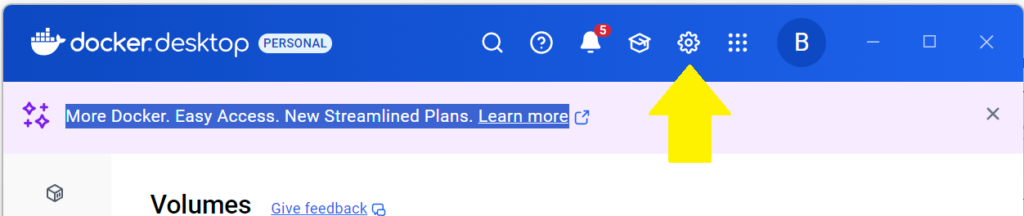
Figure 1: Docker Desktop main panel (settings indicated with yellow arrow)
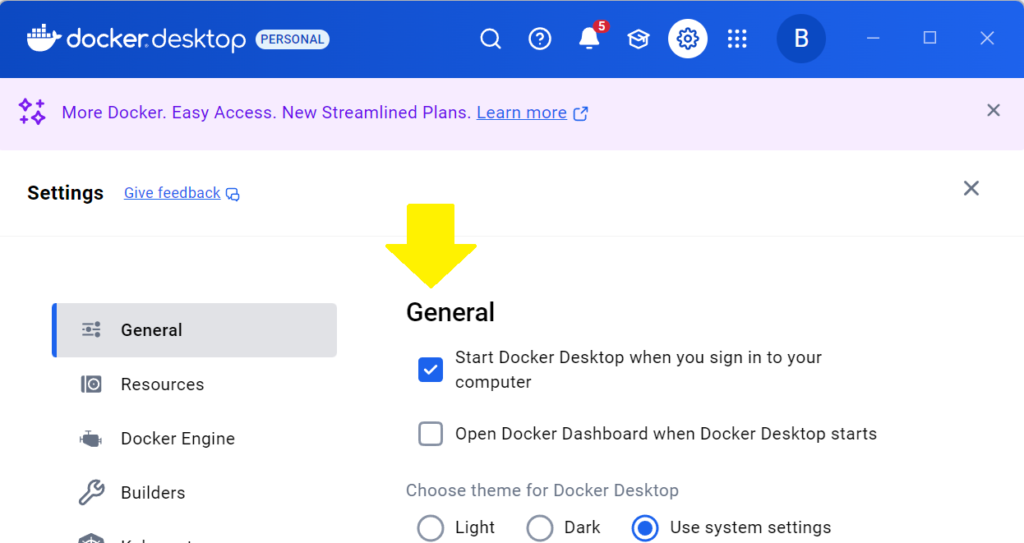
Figure 2: Startup options in the Docker Desktop settings
You can now test if everything works by restarting your system, logging in and opening a command-line terminal. On Windows you can do that by typing cmd in the search box at the bottom of your screen (task bar) and pressing enter. On Mac you can search for the application Terminal. Once in the command-line terminal, you type docker version and press enter. If everything was installed correctly, you will see output about the currently installed Docker version. Figure 3 shows what that looks like.
Simple as that! You’re now ready to run Docker applications!
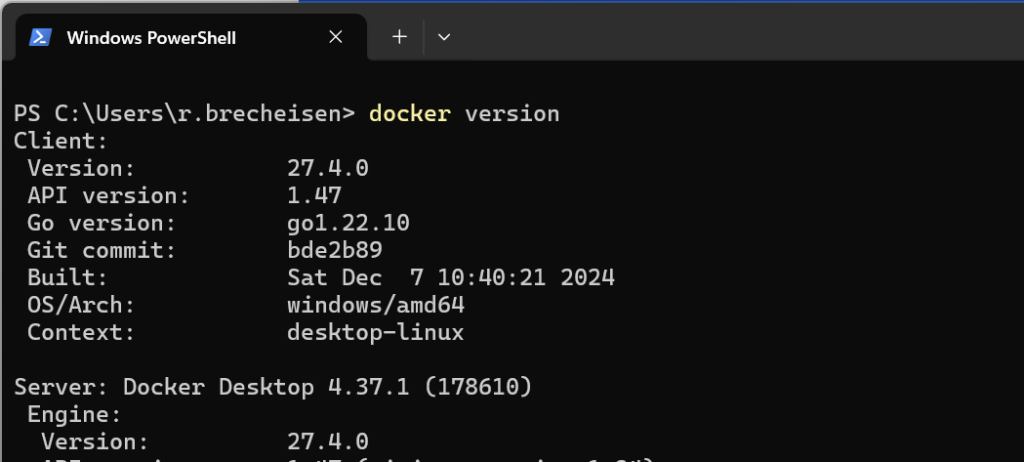
Figure 3: Command-line terminal (Windows) with output of docker version command